이번에는 FPS게임을 제작해볼 것이다.
FPS 게임
: 1인칭 슈팅게임을 의미하는 말로 대표적인 게임으로는 서든어택, 오버워치, 발로란트 등이 있다.
| 목차 1. 지면새성 2. 카메라 회전 3. 캐릭터 이동 & 점프 |
1. 지면생성
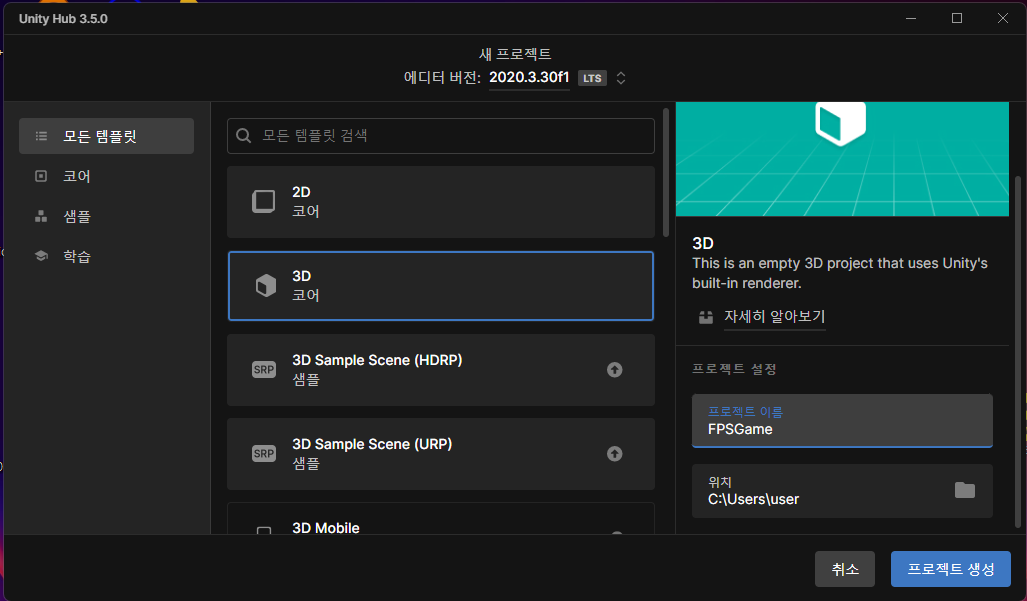
먼저 3D프로젝트를 먼저 생성해준다.
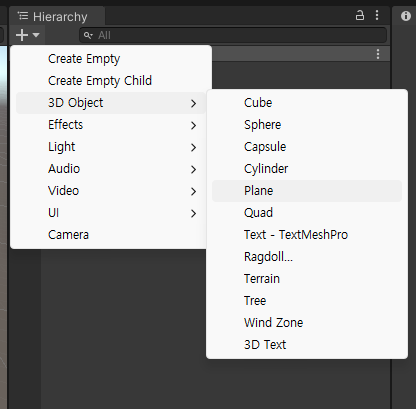
[Hierarchy] - [3D Object] - [Plane] 을 생성하고 오브젝트 이름을 Ground로 변경한다.
땅처럼 보일 수 있도록 다음과 같이 크기를 변경해준다.

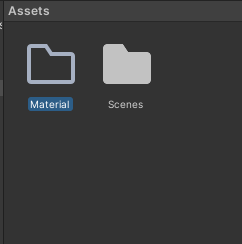
지면에 땅처럼 색상을 만들어 주기 위해 Material 을 적용할 것이다. 먼저 Material을 모아 둘 폴더를 생성한다.
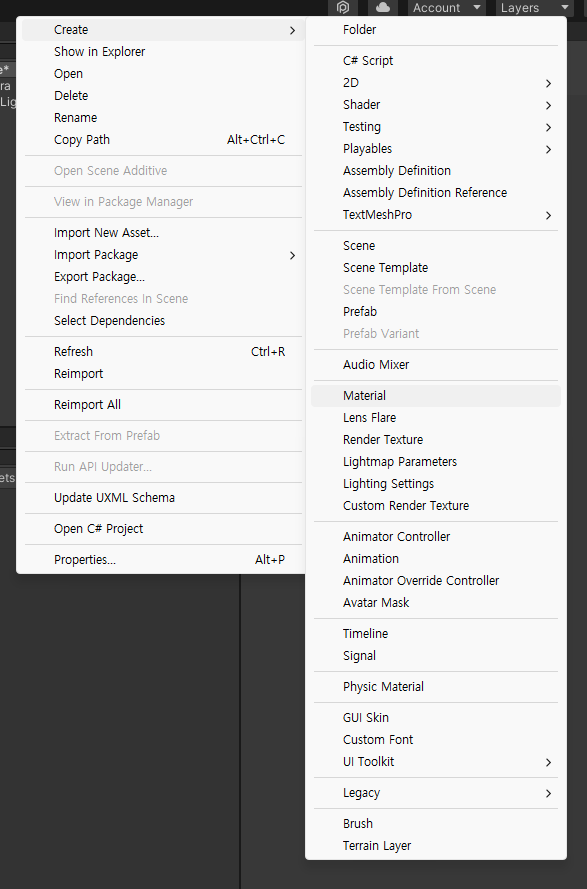
Material 폴더에서 마우스 우클릭을 한 뒤 Material을 생성한다.
Albedo를 이용해서 색상을 땅과 유사하게 바꿔주었다.

Ground 오브젝트에 드래그 & 드랍해서 적용시킨다.

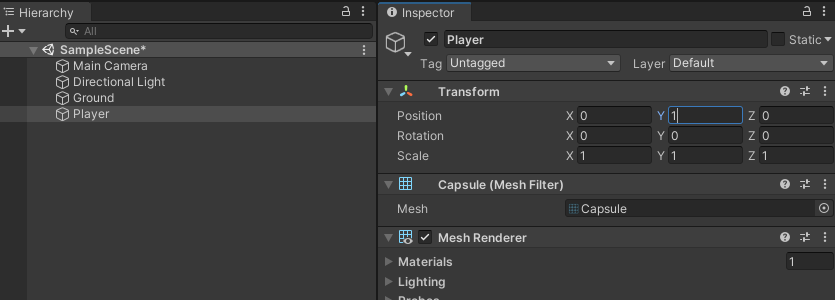
[Hierarchy] - [3D Object] - [Capsule] 로 플레이어를 생성해보자

위치를 다음과 같이 설정해준다.
2. 카메라 회전
스크립트 만들고 Main Camera 오브젝트에 드래그 & 드랍하여 적용시킨다.
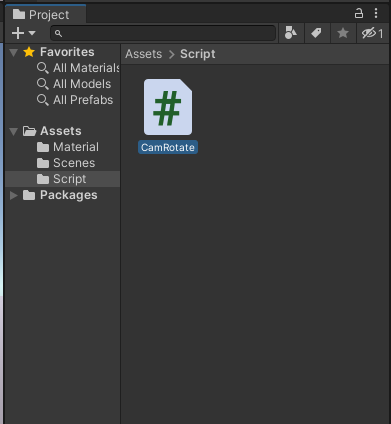
다음과 같이 CamRotate 스크립트를 작성한다.
using System.Collections;
using System.Collections.Generic;
using UnityEngine;

public class CamRotate : MonoBehaviour
{
    public float rotSpeed = 200;

    float mx = 0;
    float my = 0;

    // Start is called before the first frame update
    void Start()
    {

    }

    // Update is called once per frame
    void Update()
    {
        float mouse_X = Input.GetAxis("Mouse X");
        float mouse_Y = Input.GetAxis("Mouse Y");

        mx += mouse_X * rotSpeed * Time.deltaTime;
        my += mouse_Y * rotSpeed * Time.deltaTime;

        my = Mathf.Clamp(my, -90f, 90f);

        transform.eulerAngles = new Vector3(-my, mx, 0);
    }
}
실행시키면 마우스를 이동시키는 대로 카메라의 시선이 달라지게 된다.
3. 캐릭터 이동 & 점프
PlayerRotate 스크립트를 생성하고 Player 오브젝트에 적용시킨다.

PlayeRotate 스크립트를 다음과 같이 작성한다.
using System.Collections;
using System.Collections.Generic;
using UnityEngine;

public class PlayerRotate : MonoBehaviour
{
    public float rotSpeed = 200f;

    float mx = 0;

    // Start is called before the first frame update
    void Start()
    {

    }

    // Update is called once per frame
    void Update()
    {
        float mouse_X = Input.GetAxis("Mouse X");

        mx += mouse_X * rotSpeed * Time.deltaTime;

        transform.eulerAngles = new Vector3(0, mx, 0);
    }
}
다음으로는 FPS게임처럼 보일 수 있도록 Player의 시선에 따라 카메라가 움직일 수 있도록 프로그래밍을 해보자.
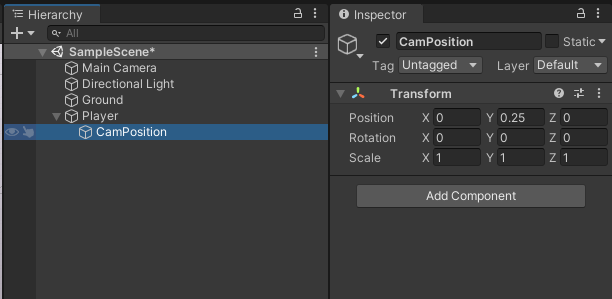
플레이어 오브젝트 하위에 [Create Empty]를 눌러 새로운 오브젝트를 생성한다.

이름을 CamPosition으로 지정하고 위치를 다음과 같이 조정한다.
CamFollow 스크립트를 생성하고 Main Camera에 적용시킨다.

CamFollow 스크립트를 다음과 같이 작성한다.
using System.Collections;
using System.Collections.Generic;
using UnityEngine;

public class CamFollow : MonoBehaviour
{
    public Transform target;

    // Start is called before the first frame update
    void Start()
    {

    }

    // Update is called once per frame
    void Update()
    {
        transform.position = target.position;
    }
}
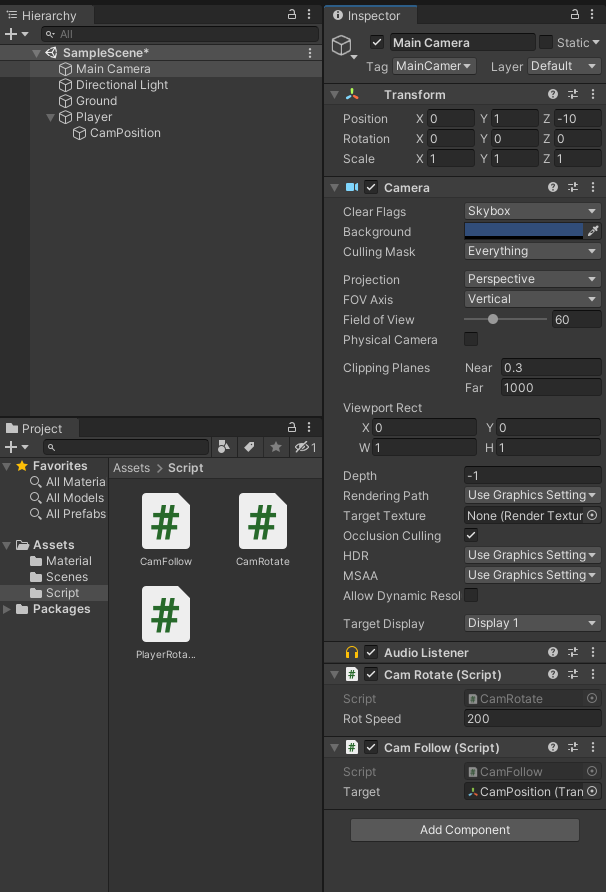
[Main Camera- Inspector] - [Target]에 이전에 생성한 CamPosition 오브젝트를 드래그 & 드랍하여 적용시킨다.
다음으로는 Player의 이동을 관리하기 위해 PlayeMove 스크립트를 생성하고 Player에 적용시킨다.

다음과 같이 스크립트를 작성해준다.
using System.Collections;
using System.Collections.Generic;
using UnityEngine;

public class PlayerMove : MonoBehaviour
{
    public float moveSpeed = 7f;
    // Start is called before the first frame update
    void Start()
    {

    }

    // Update is called once per frame
    void Update()
    {
        float h = Input.GetAxis("Horizontal");
        float v = Input.GetAxis("Vertical");

        Vector3 dir = new Vector3(h, 0, v);
        dir = dir.normalized;

        dir = Camera.main.transform.TransformDirection(dir);

        transform.position += dir * moveSpeed * Time.deltaTime;
    }
}
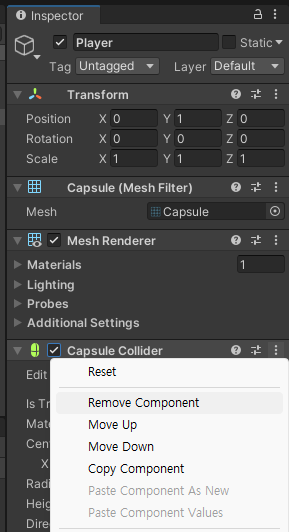
Player 오브젝트에는 기본적으로 Capsule Collider이 적용되어 있다. 캐릭터를 제어하기 위해서는 [Remove Component]를 통해 제거해준다.
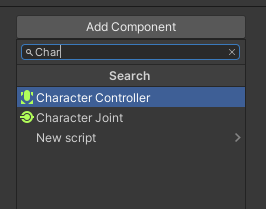
Capsule Collider을 제거했다면 [Add Component] -[Character Controller] 해준다.
추가한 컴포넌트를 이용하여 캐릭터를 조종하기 위해서 PlayerMove 스크립트를 수정한다.
using System.Collections;
using System.Collections.Generic;
using UnityEngine;

public class PlayerMove : MonoBehaviour
{
    public float moveSpeed = 7f;

    CharacterController cc;

    float gravity = -20f;

    public float yVelocity = 0;

    public float jumpPower = 10f;

    public bool isJumping = false;

    // Start is called before the first frame update
    void Start()
    {
        cc = GetComponent<CharacterController>();
    }

    // Update is called once per frame
    void Update()
    {
        float h = Input.GetAxis("Horizontal");
        float v = Input.GetAxis("Vertical");

        Vector3 dir = new Vector3(h, 0, v);
        dir = dir.normalized;

        dir = Camera.main.transform.TransformDirection(dir);

        //transform.position += dir * moveSpeed * Time.deltaTime;

        if (isJumping && cc.collisionFlags == CollisionFlags.Below)
        {
            isJumping = false;
            yVelocity = 0;
        }

        if (!isJumping && Input.GetButtonDown("Jump"))
        {
            yVelocity = jumpPower;
            isJumping = true;
        }

        yVelocity += gravity * Time.deltaTime;
        dir.y = yVelocity;

        cc.Move(dir * moveSpeed * Time.deltaTime);
    }
}
최종적으로 마치고 나면 다음과 같이 점프와 이동을 할 수 있다.
어 사실,., 카메라 이동이 좀 이상한거같아서 아마 수정할 것 같다. 아무튼 이번에는 진짜 3D게임 만드니까 좋다. 이거 하다가 오랜만에 오버워치 들어갔는데 너무 많이 변해버려서 게임 실행한지 삼십분도 안돼서 접어버림
'프로젝트해요 > 게임_개발' 카테고리의 다른 글
| [Unity] #12. FPS 게임 제작(3) (0) | 2023.08.28 |
|---|---|
| [Unity] #11. FPS 게임 제작(2) (0) | 2023.08.27 |
| [Unity] #9. 슈팅 게임 제작(5) (4) | 2023.07.07 |
| [Unity] #8. 슈팅 게임 제작(4) (4) | 2023.07.06 |
| [Unity] #7. 슈팅 게임 제작(3) (6) | 2023.07.05 |